
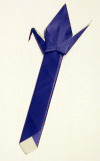
How to Fold a Crane-Shaped
|

|
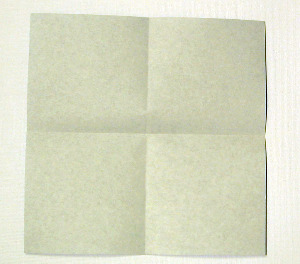
1.
Start with the white side
up. Fold side-to-side, unfold, and repeat, forming the creases
shown.
|
 |
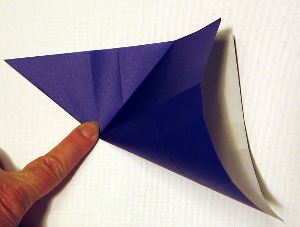
|
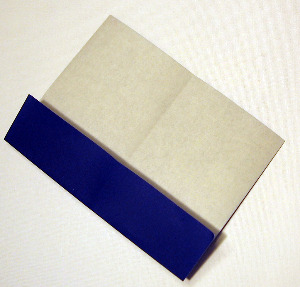
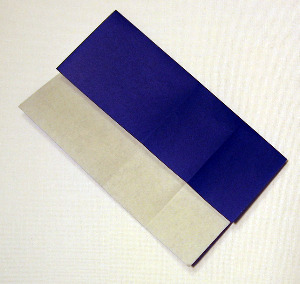
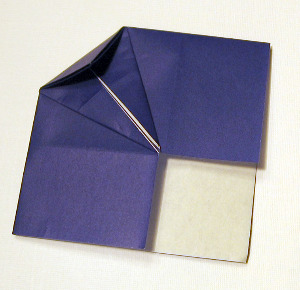
2. Fold a side to the center crease.
|
 |
|
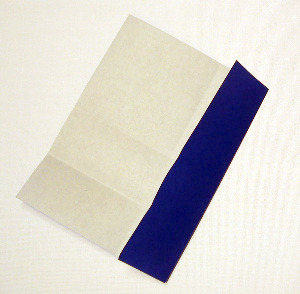
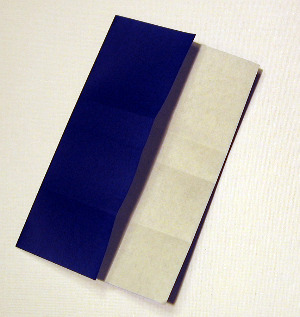
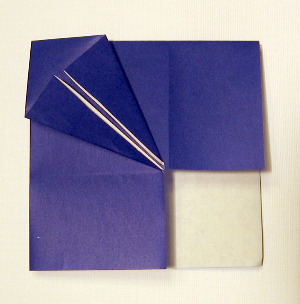
3.
Fold an adjacent side to the
center crease.
|
 |
|
4. Fold one of the remaining sides to the new crease opposite it.
|
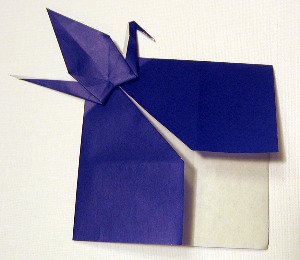
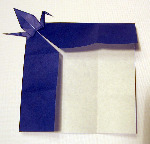
 |
|
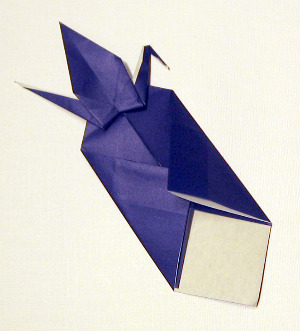
5.
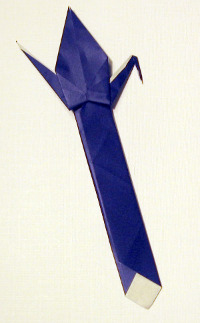
Fold the remaining side to the
opposite crease.
|
 |
|
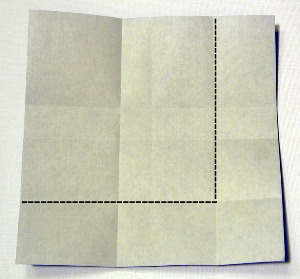
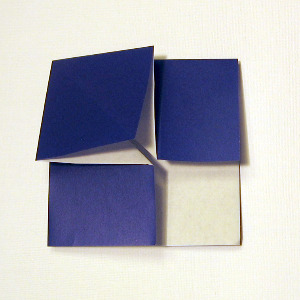
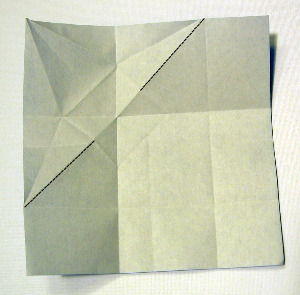
6.
Notice the creases that form a
large square.
|
 |
|
7.
Turn the paper over and fold the
square in half, corner to corner.
|
 |
|
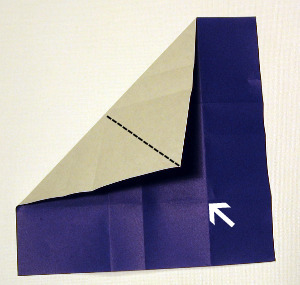
8.
Turn the paper over and fold the
square in half again. Crease only to the line you made in the
last step.
|
 |
|
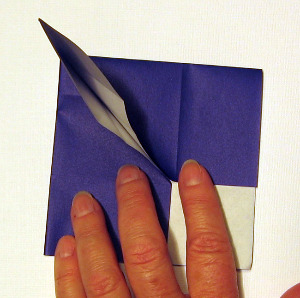
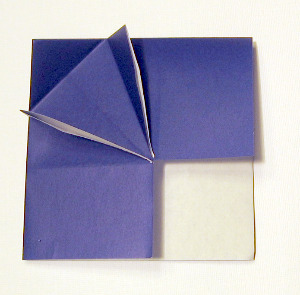
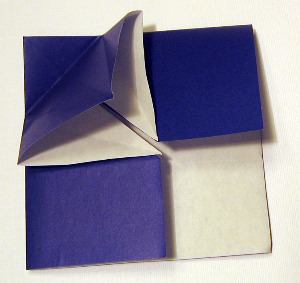
9.
Using
existing creases, fold in the two sides adjacent to the square,
resulting in the small white square (lower right) and a flap sticking
up.
|
 |
|
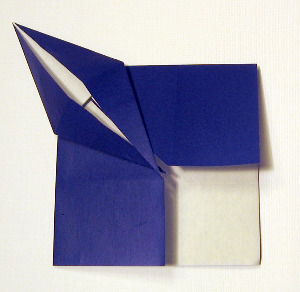
10.
Squash-fold the flap into a
square base, using the creases you made in Steps 7 and 8.
|
 |
|
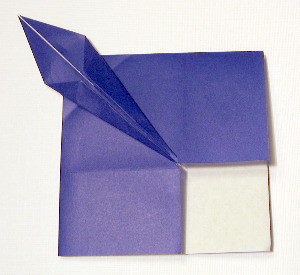
11.
Fold the cut edges of the square to the center
line, forming a kite shape. |
 |
|
12.
Fold the top of the kite
down. Crease well.
|
 |
|
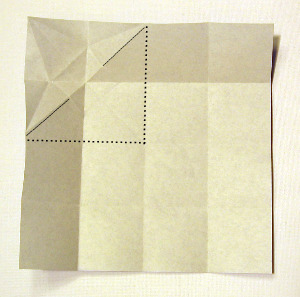
13.
Notice the crease lines marked
with dashes and the small square between them.
|
 |
|
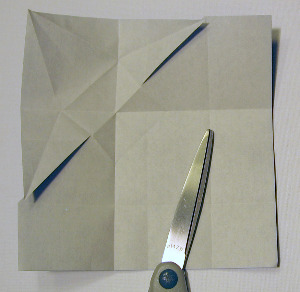
14.
Cut on the dashed lines, stopping at the square.
|
 |
|
15.
Refold and re-crease the kite
folds.
|
 |
|
16.
Unfold the kite.
|
 |
|
17.
Peel up the top layer.
|
 |
|
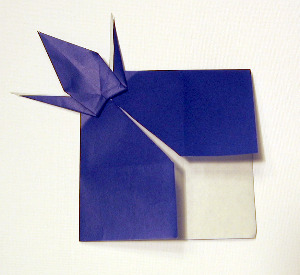
18.
Use existing creases to fold
into a crane base.
|
 |
|
19.
Fold the two lower sides of the
base to the center line.
|
 |
|
20.
Fold the tail and neck of the
crane, locking them behind the body.
|
 |
|
21.
Fold the head using an outside
reverse fold (see below), instead of the usual inside reverse fold.
|
 |
|
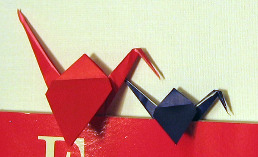
22.
The crane is done! Now we'll make the "stick."
|
 |
|
23.
Repeat on the opposite side.
|
 |
|
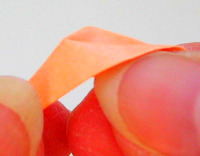
24.
Fold the left side as far as it
will go, keeping the edges parallel.
|
 |
|
25.
Repeat on the other side.
You can leave the wing up or fold it down.
|
 |
|
 |
|
Back to top of Origami Bookmark
