
How to Fold an
|
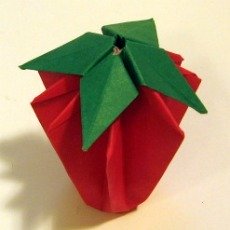 Materials A single piece of square paper, color on both sides is ideal. My favorite sizes of paper are 4½" for a regular berry and 3" square for little ones. If you have regular red origami paper, you can paint the leaves green. 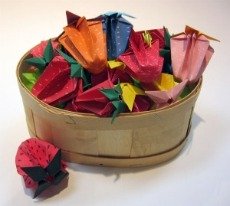 |
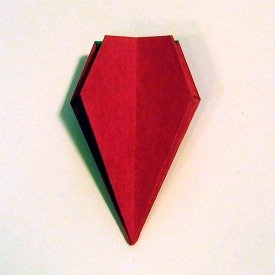
The origami strawberry is a very
old model. I was reminded of it recently when I found one in a box of things from my early childhood. Kids love it because they get to inflate it by blowing in the hole at the top. I made the wreath below from a silk ivy plant. I added some white silk flowers that resemble strawberry blossoms. You could make origami blossoms from small white forget-me-nots.  You might like a marker or gel pen to paint seeds on your strawberry. You can make a basket filled with a variety of fun, funky colors! |
How to Fold an Origami Strawberry
|
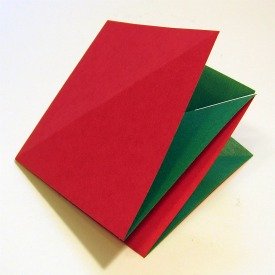
1.
Starting with the leaf-colored side up, fold
the paper into a
|
 |
|
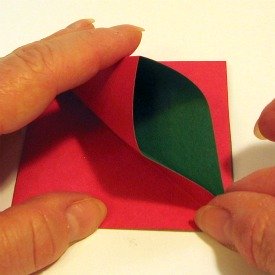
2.
You are going to
squash-fold each of the four flaps.
|
 |
|
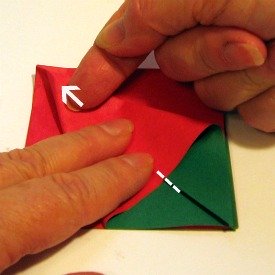
3.
As you squash each flap, be sure
to line up the crease as indicated by the dashed line.
|
 |
|
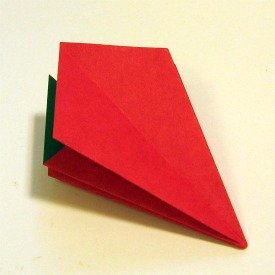
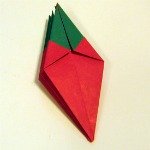
4.
When all four flaps are
squashed, you have a kite shape.
|
 |
|
5. Turn the flaps like pages in a book
until you have a solid-colored "kite" with four flaps on each side.
|
 |
|
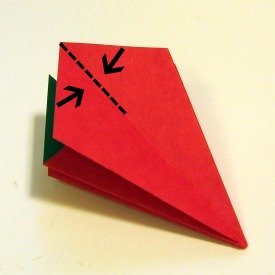
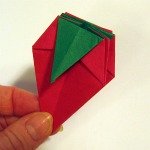
6.
Fold the two upper edges to the
center line.
|
 |
|
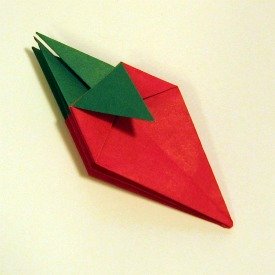
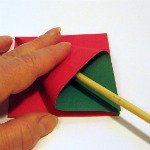
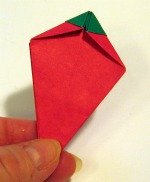
7.
Fold the four leaves down.
|
 |
|
8.
Like before, page-fold to a
solid shape with four flaps on each side. |
 |
|
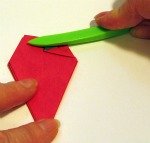
9. Fold the two upper edges to the center line, creasing well.
|
  |
|
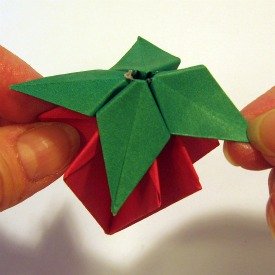
10. Lift out the four leaves.
|
 |
Back to top of Origami Strawberry
